
bathroom Tile
REMOVE OLD TILE, INSTALL CUSTOM NICHES, AND TILE WITH MATCHING WRAPPING PATTERNS

BEFORE

AFTER

AFTER
AFTER

AFTER
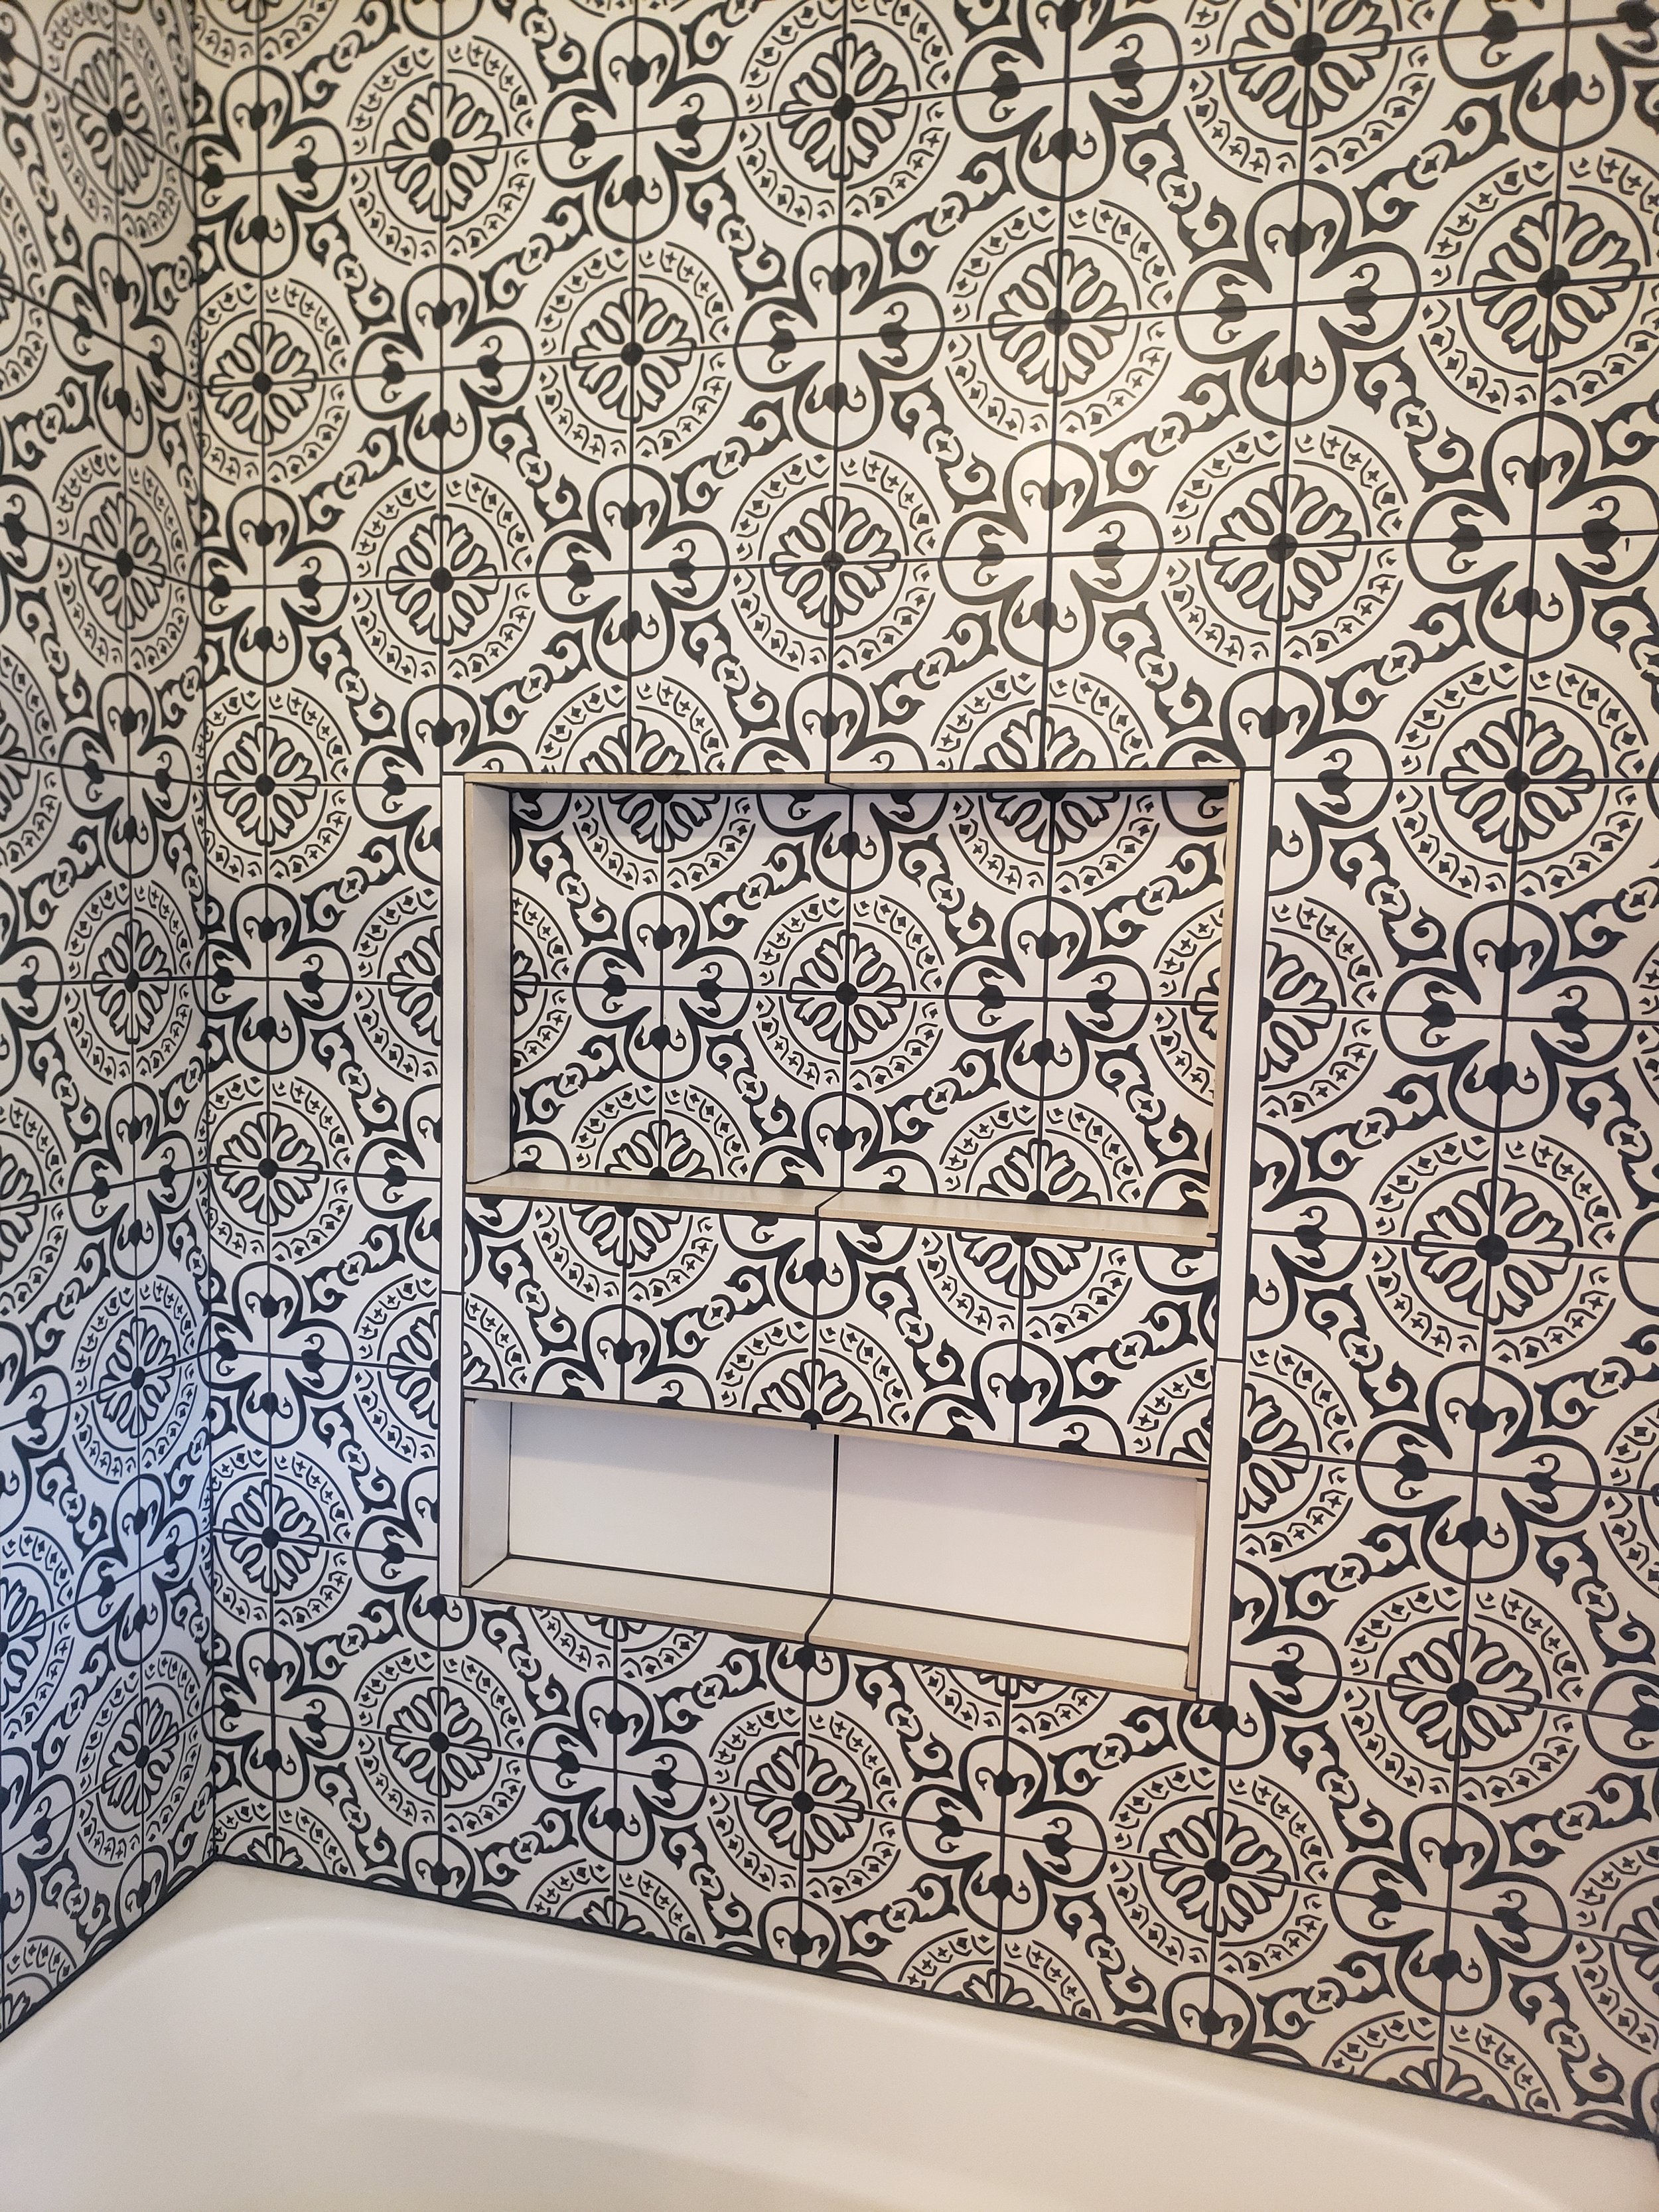
ALMOST DONE WITH THE PROJECT
This video shows:
Two new custom niches.
How the tiles line up in the corners.
How the tiles line up within the niches.
(Click Video to Maximize)